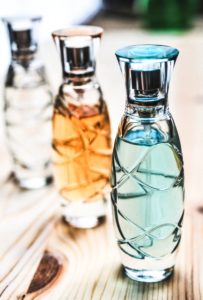
Perfume is everywhere: it’s an ingredient in laundry detergent, many body care and cleaning products, and it’s even a thing we pay big money for to spray on our bodies so we can smell it all day long!
 We buy air fresheners for our cars and for our houses, and we love candles and room or linen freshening sprays to eliminate (or mask) unwanted odors and keep everything smelling fresh and clean.
But perfumes, when they are made with artificial fragrances, present a constant exposure to toxic fumes that can wreak havoc on our hormones and our health. (To learn more about this: watch the documentary STINK! on Netflix).
People who are allergic to perfumes may get migraines or feel dizzy or nauseous when confronted with an overpowering fragrance from any source. These people often have to avoid fragrances of any kind in every product, which can be difficult!
Luckily for us, nature has a solution: Essential Oils!
Essential oils are nature’s perfume, and unlike toxic artificial fragrances, are actually really good for us!
There are all kinds of benefits to smelling (and even topically using) essential oils, from boosting immunity and healing disease to balancing hormones, stress relief and help getting to sleep at night.
I love this article by Dr. Axe that expounds on the benefits and uses of essential oils.
If you have never used essential oils, you’ve probably heard a lot about them and may even be intimidated.
Where do I start?
Do I need them?
Which ones do I use and how do I use them?
If that’s you, check out this great post from Clean Living with Kids that will help you decide on the BEST essential oils to start with, and why.
I stood on the sidelines for awhile before trying essential oils at all. Then finally, I decided to just dive in and try it!
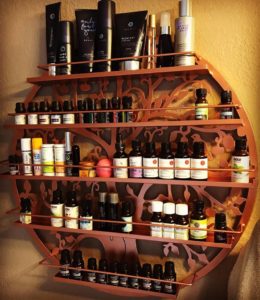
Now, several years later, I have built up quite the collection of essential oils, and I recently bought a shelf just for them.
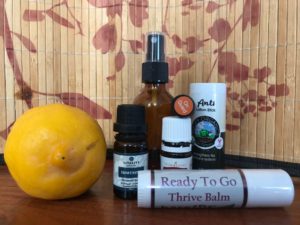
In this post I want to share my experience and a few easy recipes that have saved me hundreds (maybe even thousands) of dollars on products that I wanted to ditch anyway (because of toxic ingredients, including the dreaded fragrance).
I’m not recommending any specific brand, and I think there are a lot of great options out there, especially if you are using them in the recipes like the ones I’ll share below.
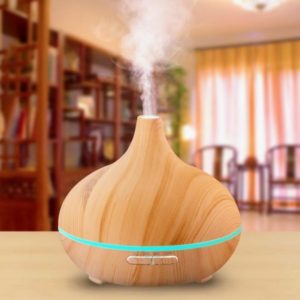
If you are applying them topically or diffusing them, it’s best to make sure they are organic or at the very least that they are pure.
Quick tip: Not all essential oils are created equal. If you see “essential oils” at the dollar store, they probably aren’t the real thing. There is no regulation in essential oils, and some manufacturers have been known to cut their oils with chemicals or not use essential oils at all—replacing them with chemical fragrances.
Well, that defeats the purpose, doesn’t it? So whichever brand you choose, be sure it’s from a trusted brand so you know for sure you are getting what you pay for.
Essential oils have all kinds of great uses, and a few limitations. Check out this great post from Deep South Crunchy Mom detailing the best ways to use essential oils topically, diffused and which ones are safe for kids.
Easy Ways to Use Essential Oils Every Day
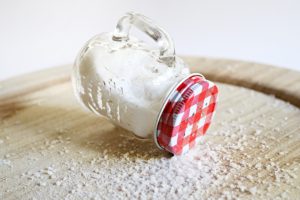 I love to drip them into my Epsom Salt stash for a relaxing, aromatherapy experience every time I take a detox bath. Just a few drops of your favorite scent will make the whole batch smell great! I also use them in my home-made deodorant recipe. I make a different scent for my son, my mom, and myself…because we all have different favorite scents, of course! I even use them in my own skin-care recipe (I’ll share that recipe with you in a different post).
Here’s a list of all 15 recipes. If you want to jump down to one, click it here:

BODIES AND KIDS

In the summertime, it’s important to have a couple of things handy at all times: insect repellent and after-sun spray.

Insect Repellent
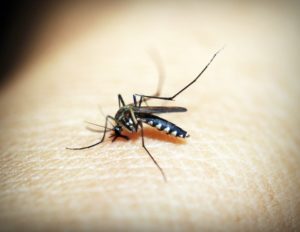 When I first started searching for a recipe for insect repellent, I was surprised to see that a wide variety of essential oils provide insect repelling benefits. So I usually just mix up whichever ones I have. The most important ones to include are citronella, peppermint, lavender, and lemon eucalyptus.
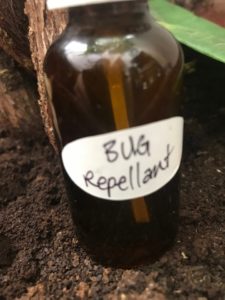
Here is a basic recipe that is super effective at repelling all the bugs! With just a few inexpensive bottles of essential oils you will be bug-free for years to come!
 Ingredients
⠀
Directions:
- Add the witch hazel and essential oils to the bottle (it should be about half full)
- Fill the rest of the bottle with distilled water and shake well
- Shake well before use. Spray on skin or clothes before going outside!!!
Soothing After-Sun Spray
I’m not a huge fan of sunscreen, so I usually wear hats or hang out in the shade, so on the rare occasions I get a little pink, this after-sun spray comes in very handy! It’s cooling and soothing, and brings immediate relief.
Ingredients:
Directions:
Mix Aloe and essential oil drops in the spray bottle then fill to the top with distilled water.
Shake well before each use and mist on sun-kissed skin as needed.
Anti-bacterial Hand Spray: Safe, Effective, Chemical Free!
 Waterless hand cleaners are all the rage, but did you know the chemicals in them are dangerous and are absorbed into the bloodstream in less than 30 seconds? Also these harsh chemical anti-bacterial agents have contributed to the sharp rise in superbugs in recent years.
Essential oils are nature’s anti-bac. I love to use the immunity blend for mine (also called onGuard and Thieves with other brands). See the fascinating story behind this blend here.
This recipe is really easy!
Ingredients:
- Reusable spray bottle
- Distilled water
- A few drops of vegetable glycerine (optional: for moisturizing)
- 20-30 drops Immunity blend of your choice (including Clove, Cinnamon, Lemon, Rosemary, Eucalyptus Essential oils)
Directions:
- Combine all ingredients into the spray bottle and carry wherever you go.
- Shake well before using: spray liberally onto hands or surfaces that may harbor germs (such as door knobs, handles, purses, counter-tops, etc)
Go-to-Sleep Roll-on or Spray (for kids big & small!)
Insomnia plagues children and adults alike. There is nothing worse than laying in bed with your eyes wide open, hoping sleep will come.
You’ll be surprised how well this quick, easy, inexpensive trick works every time!
Ingredients:
- Reusable spray bottle or roll-on bottle
- Magnesium oil
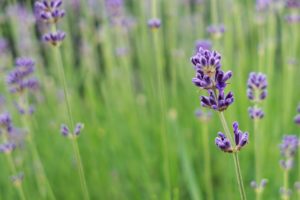
- 20-30 drops lavender essential oil
Directions:
- Fill container to the top with magnesium oil and essential oil drops. Shake well.
- Shake well before using and apply to the bottoms of the feet at night.
- The spray can also be used as a linen spray to lend a fresh, soothing scent to your pillow and bedding for better sleep as well.
- This gentle, fast-acting formula of magnesium and lavender absorbs into the bloodstream quickly and your child (or you!) will be in dreamland before you know it!
Fever Reducer Roll-On
Say goodbye to over-the-counter drugs! You probably heard about the Tylenol recall a couple years back. Despite being cheap and easily-obtained, over-the-counter drugs are not safe for anyone: especially children. Each drug has its own dangers, and acetaminophen is particularly dangerous for children when they are sick: it blocks the production of glutathione in the body, which opens up detoxification pathways. Stopping detoxification is the last thing you want to do when you are sick–so here is a great recipe for a roll-on that can help reduce a fever if you are concerned.
(Also, see this post about why you may not want to reduce the fever at all, as well as some other easy, non-toxic fever reduction methods).
Ingredients:
- Reusable Roll-on bottle
- 4 drops peppermint essential oil
- 2 drops lavender essential oil
- Distilled water or Fractionated coconut oil
Directions:
- Fill the bottle with distilled water or fractionated coconut oil and top with essential oils
- Apply to the bottoms of the feet every 15-20 minutes as needed.
Migraine Roll-On
Headaches are the worst: when I feel one coming on there is nothing more I want to do than prevent it from becoming a full-blown, all-day affair. Headaches affect everything: productivity at work, ability to interact with people in social settings, and general ability to do anything at all.
I don’t get frequent headaches, but I had heard from a lot of people that headaches and even migraines can be relieved with essential oils. I’d heard simply putting peppermint on the back of the neck can make a big difference. The first time I tried it I was amazed how well it worked: my headache disappeared immediately!
I’ve also seen migraine blends that are mostly peppermint but have a few other ingredients as well. Here is a basic recipe that works for me, but feel free to play with the different oils and applying them different places to get relief.
Ingredients:
TIP: Because oil and water don’t mix, if you use water you will need to always shake before using. If you use fractionated coconut oil, the essential oils will incorporate into the oil and will have a smoother application.
Directions:
- Add all ingredients to the roller bottle and shake
- Shake before using. Apply to the temples, back of the neck or other areas
Perfume!
We all love to smell good, and to have pleasant smells around us wherever we go. Since conventional perfumes are not an option (and we should all avoid these toxic synthetic fragrances anyway), why can’t we harness the power of essential oils to be able to use “perfume,” and also get the benefits of essential oils (relaxation, focus, stress relief, healing, etc) at the same time?
The great thing is that an essential oil perfume is so easy to make and to use:
Ingredients:
- Reusable spray bottle
- Distilled water
- Essential oil or essential oil blend of your choice (play with the combinations until you create your perfect scent!)
Directions:
- Combine water and essential oils (use about 10 drops per ounce).
- Shake and spray!
- This can also be used as a room spray, linen spray, bathroom freshener, or in place of any other “perfume” you would normally use!
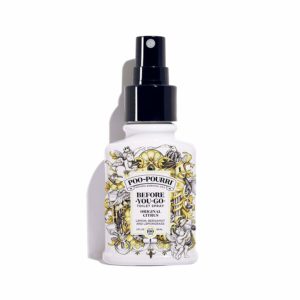
Bathroom Stink Eliminator Spray
Have you seen the ads for Poo-Pourri?
Eliminate embarrassing smells in the bathroom with a simple spray.
 Could it be possible?
Yes–actually it is! All with the power of essential oils.
And this two-ingredient recipe is so simple–just mix it up and leave the spray bottle in the bathroom or carry it wherever you go–and it costs just pennies and less than a minute to make!
Ingredients:
- Reusable spray bottle
- Distilled water
- Your favorite essential oils (citrus ones like lemon, bergamot, grapefruit and lemongrass work great, but others work too!)
Directions:
- Mix up 10 drops of your chosen essential oil for each one ounce of water in the spray bottle and shake to mix
- Spray 4-5 times in the toilet on the water before you go. The essential oils sit on top of the water and trap odors in. It’s like magic!
CLEANING RECIPES
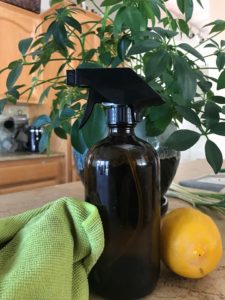

All-Purpose Cleaner for Counter tops, Stove tops, Windows and More!
Move over, chemicals: the cleaning power of lemon and vinegar has entered the building! You will be shocked how well this simple combination cleans everything in the house!
Ingredients:
- 1 part distilled water
- 1 part white vinegar
- 10-30 drops lemon essential oil (depending on the size of the bottle)
- Reusable spray bottle
Directions
Add ingredients to spray bottle and shake before using.
Ceramic (White) Sink Cleaner
If you have a white ceramic sink like I do, you already know how difficult it is to keep those clean and shiny! Every little thing stains and marks that white surface!
Here is a quick, easy way to clean those ceramic white sink surfaces as white as new. I do it on a weekly basis.
Ingredients:
- Vinegar in a spray bottle with lemon essential oil
- Baking soda
- Scrub brush
Directions:
- Sprinkle baking soda all over the sink, concentrating in areas with stains or marks
- Spray the baking soda with the lemon vinegar until it sizzles and looks wet
- Allow to sit until it dries, about 10 minutes
- Scrub out the sink with the brush.
Oven cleaner
Commercial oven cleaners are highly toxic, caustic chemicals that can be dangerous to breathe, let alone use on something you use to cook your food. This easy recipe is similar to the sink cleaner above, and it really works well with no dangerous chemicals. Plus it’s a huge money saver, as all of the ingredients are incredibly cheap.
Ingredients:
- Reusable spray bottle with white vinegar and orange essential oil
- baking soda, it will fizz up
- for tough stains, grab your orange essential oil bottle
- small scrub brush
Directions:
- Spray entire surface of oven generously with the vinegar until it is very wet
- Sprinkle baking soda everywhere, concentrating on problem areas
- On stubborn stain areas, drop orange essential oil directly on top of the baking soda
- Allow to dry for at least 10 minutes, then scrub away
Floor Cleaner
Floor cleaner is quick, easy and cheap: I throw a batch together every time I clean my floors: it’s just a matter of adding a couple ingredients to warm water!

Ingredients
- 2 – 3 cups of warm water
- 1-2 tablespoons of Castile soap
- 10 drops of essential oil of your choice (citrus oils like lemon and orange work fantastic for hardwood floors!)
Directions
- Mix the ingredients and use your mop or microfiber floor cleaner with your cleaning solution.
- You’ll be amazed how clean and shiny the floors are!
Cream Cleanser For the Bathroom Sinks and Showers
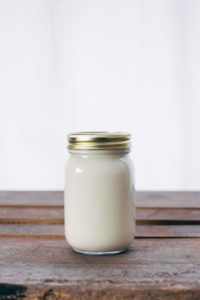
Similar to “Soft Scrub” this creamy cleanser can remove soap scum and other yuckies in the bathroom sink, tub and shower areas, including tile and grout.
It also makes an excellent non-toxic toilet cleaner, and leaves the whole bathroom smelling amazing!
Ingredients:
- 1 mason jar
- 1.5 cups baking soda
- 1/2 cup liquid castille soap
- 4 T water
- 20-30 drops lemon and/or tea tree essential oil
- scrub brush
Directions:
- Combine all ingredients into a creamy paste
- Apply to bathroom surfaces and scrub
Non-Toxic Shower Spray that Smells Great!
If you want to avoid having to clean your shower or tub altogether, this after-shower spray is a great non-toxic option. Just spray it in your shower after every use, and it will greatly extend the time between scrubbings. An added bonus: it makes the bathroom smell amazing!
Ingredients:
Directions:
- Combine all ingredients in a refillable spray bottle and shake well before using
- Use as an after shower spray to prevent soap scum, mildew and mold
Laundry Softener and Scent Boost
Two of the most toxic things in any household are fabric softener and dryer sheets.
Why?
The artificial fragrances used are strong and they are toxic. They also both put a film over clothing (for “softness”) that is very difficult to remove, even with multiple washings. This coating can irritate the skin and makes the harsh fragrances linger for a very long time.
I’ve personally never used fabric softener or dryer sheets, but one time a friend bought me a pair of leggings. We were going on a trip, so she washed them before we left and then gave them to me.
That was over a year ago, and I’ve washed those leggings multiple times, but I can still smell the strong fumes from the fabric softener on them.
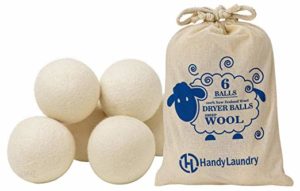
Eliminating fabric softener and dryer sheets is easy: simply add vinegar to the fabric softener cup in your washer, and use these wool dryer balls in place of dryer sheets. You’ll save time and cut this major offender of toxins out of your life.
 As an added bonus: vinegar is antibacterial and anti-fungal, and it neutralizes uric acid! So use vinegar if you have broadsheets or dog beds that have been urinated on!
Wool dryer balls also cut down drying time, which can save you on energy costs!
If you like your laundry to have a great scent, here’s a recipe for a natural, non-toxic laundry softener and scent boost.
Ingredients:
- 2 cups baking soda
- 2 cups Epsom Salt
- 10-30 drops of your favorite essential oils (some good choices are lemon, lavender, lemongrass, or another scent you prefer)
Directions:
- Mix all ingredients together well, evenly distributing the essential oils
- Add 1/4 cup to each load of laundry
- You laundry will smell great, and the baking soda is a cleaning booster! The Epsom salt helps to soften the fabric.
BONUS! Non-Toxic Foaming Hand Wash
Conventional hand soap has a lot of toxins that absorb into our bloodstream within 30 seconds of washing our hands, and the artificial fragrance is a problem as well as the anti-bacterial chemicals used, such as triclosan, which has created the surge of antibiotic resistant superbugs we are experiencing today.
Want a cheap, easy, safe alternative to paying $4-$5 per bottle for toxin-loaded hand washes?
Try making this quick, simple foaming hand wash in less than a minute, for less than 25 cents per bottle.
What are your favorite essential oils and what do you use them for?
Do you have any other recipes using essential oils you like to use?
New to Freedom & Coffee? Start here.
Disclosures:
Many of the product links in this post are affiliate links, which means I will receive a small commission from any purchase. I only recommend products that I love and this is at no extra cost to you. Thank you for supporting our mission with your clicks!

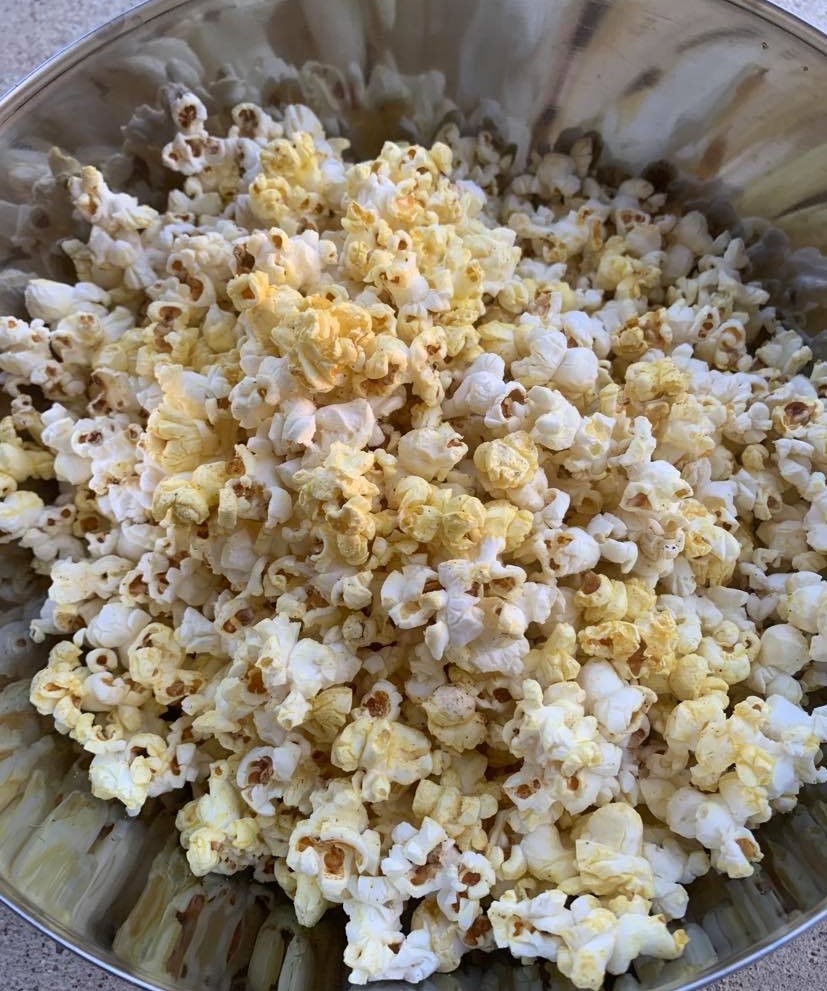


 There are dozens of dangerous chemicals in most microwave popcorns, from the artificial buttery flavoring to the coating on the bag that prevents the oil from leaking through the paper. Some of them even have teflon inside of the bag! You are exposed to all of these chemicals and absorb them by smelling, touching and eating microwave popcorn.
 Butter is a very nourishing food, and it can be an important source of key vitamins like Vitamin D, Vitamin K2 and Vitamin A. If you can, get butter from grass-fed cows. Kerrygold is a very tasty one. I like to add butter because it (obviously) adds a rich, buttery flavor and boosts the nutritional content of your popcorn by a lot!
 But like with most things… this is only partially true.
 They don’t sound very appetizing, but nutritional yeast flakes actually add a cheesy flavor to popcorn that I really like.
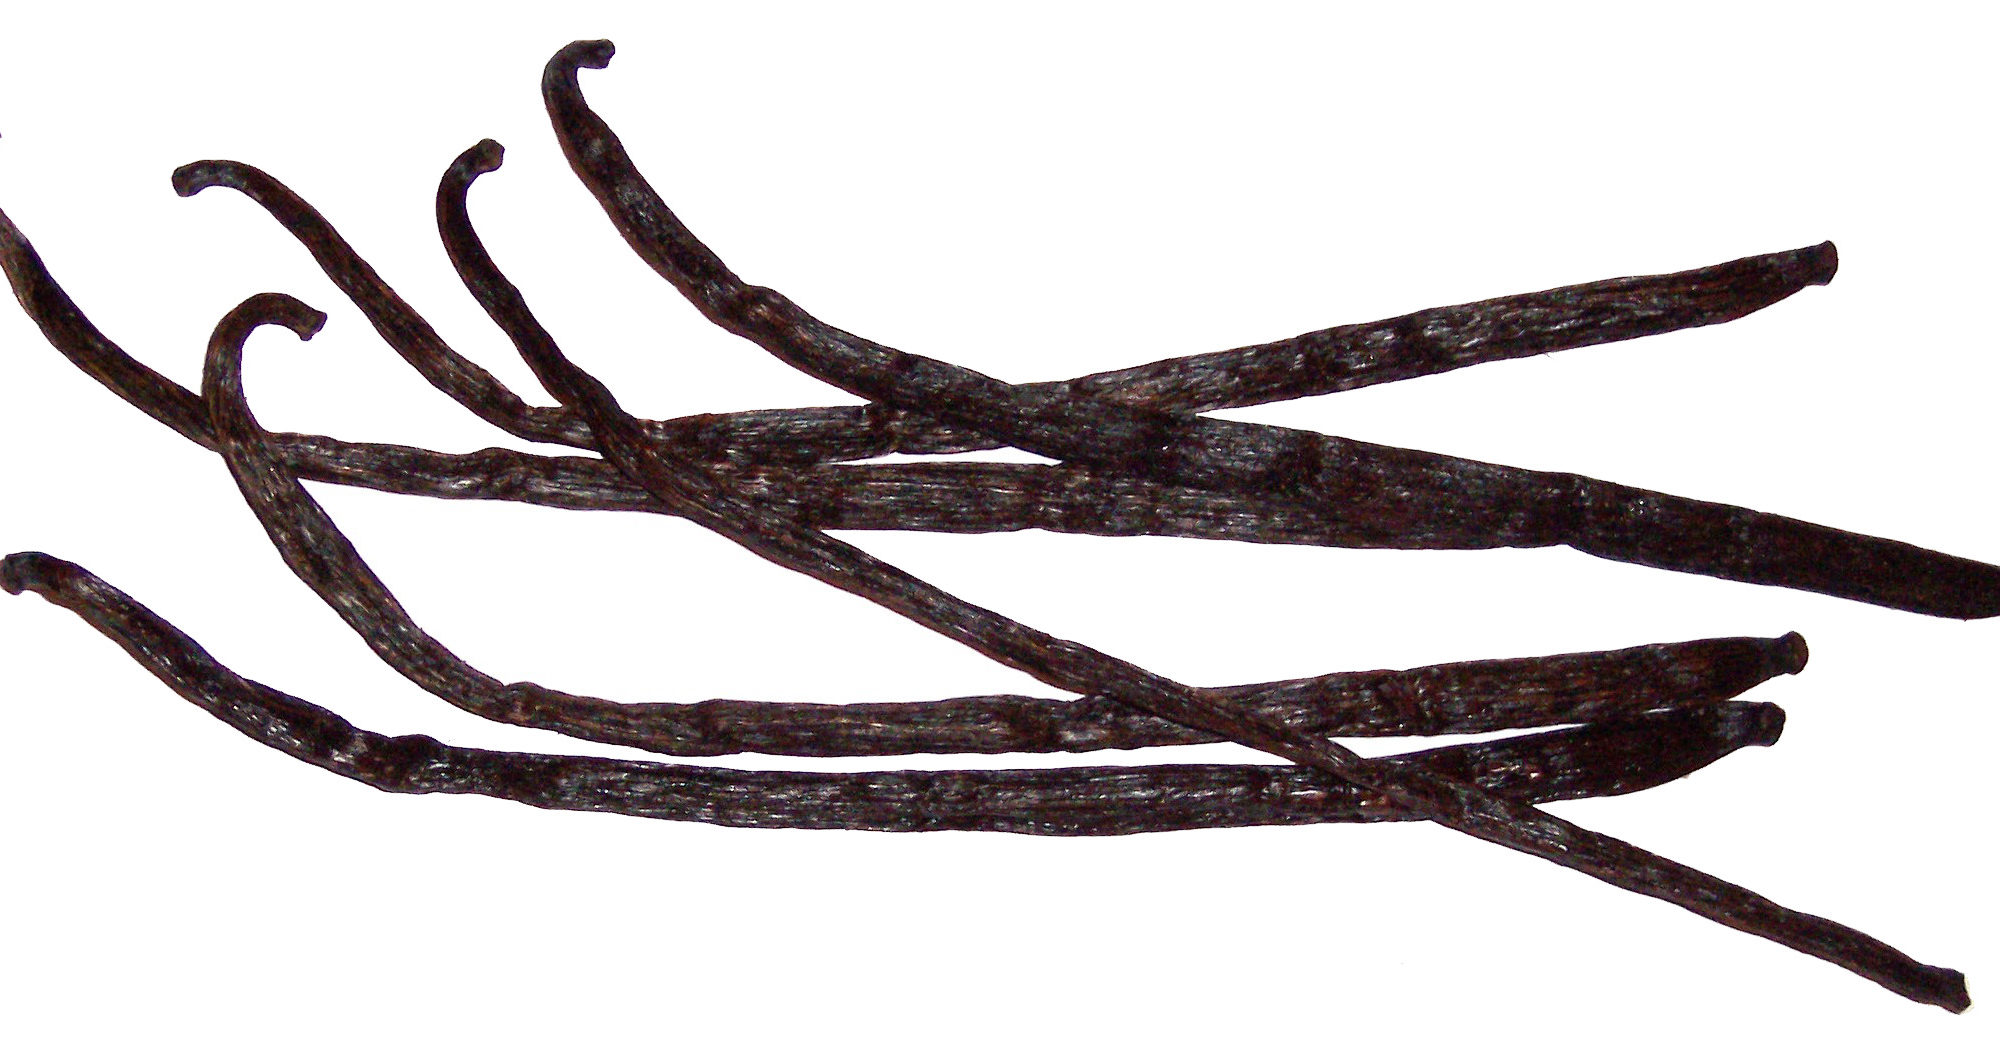


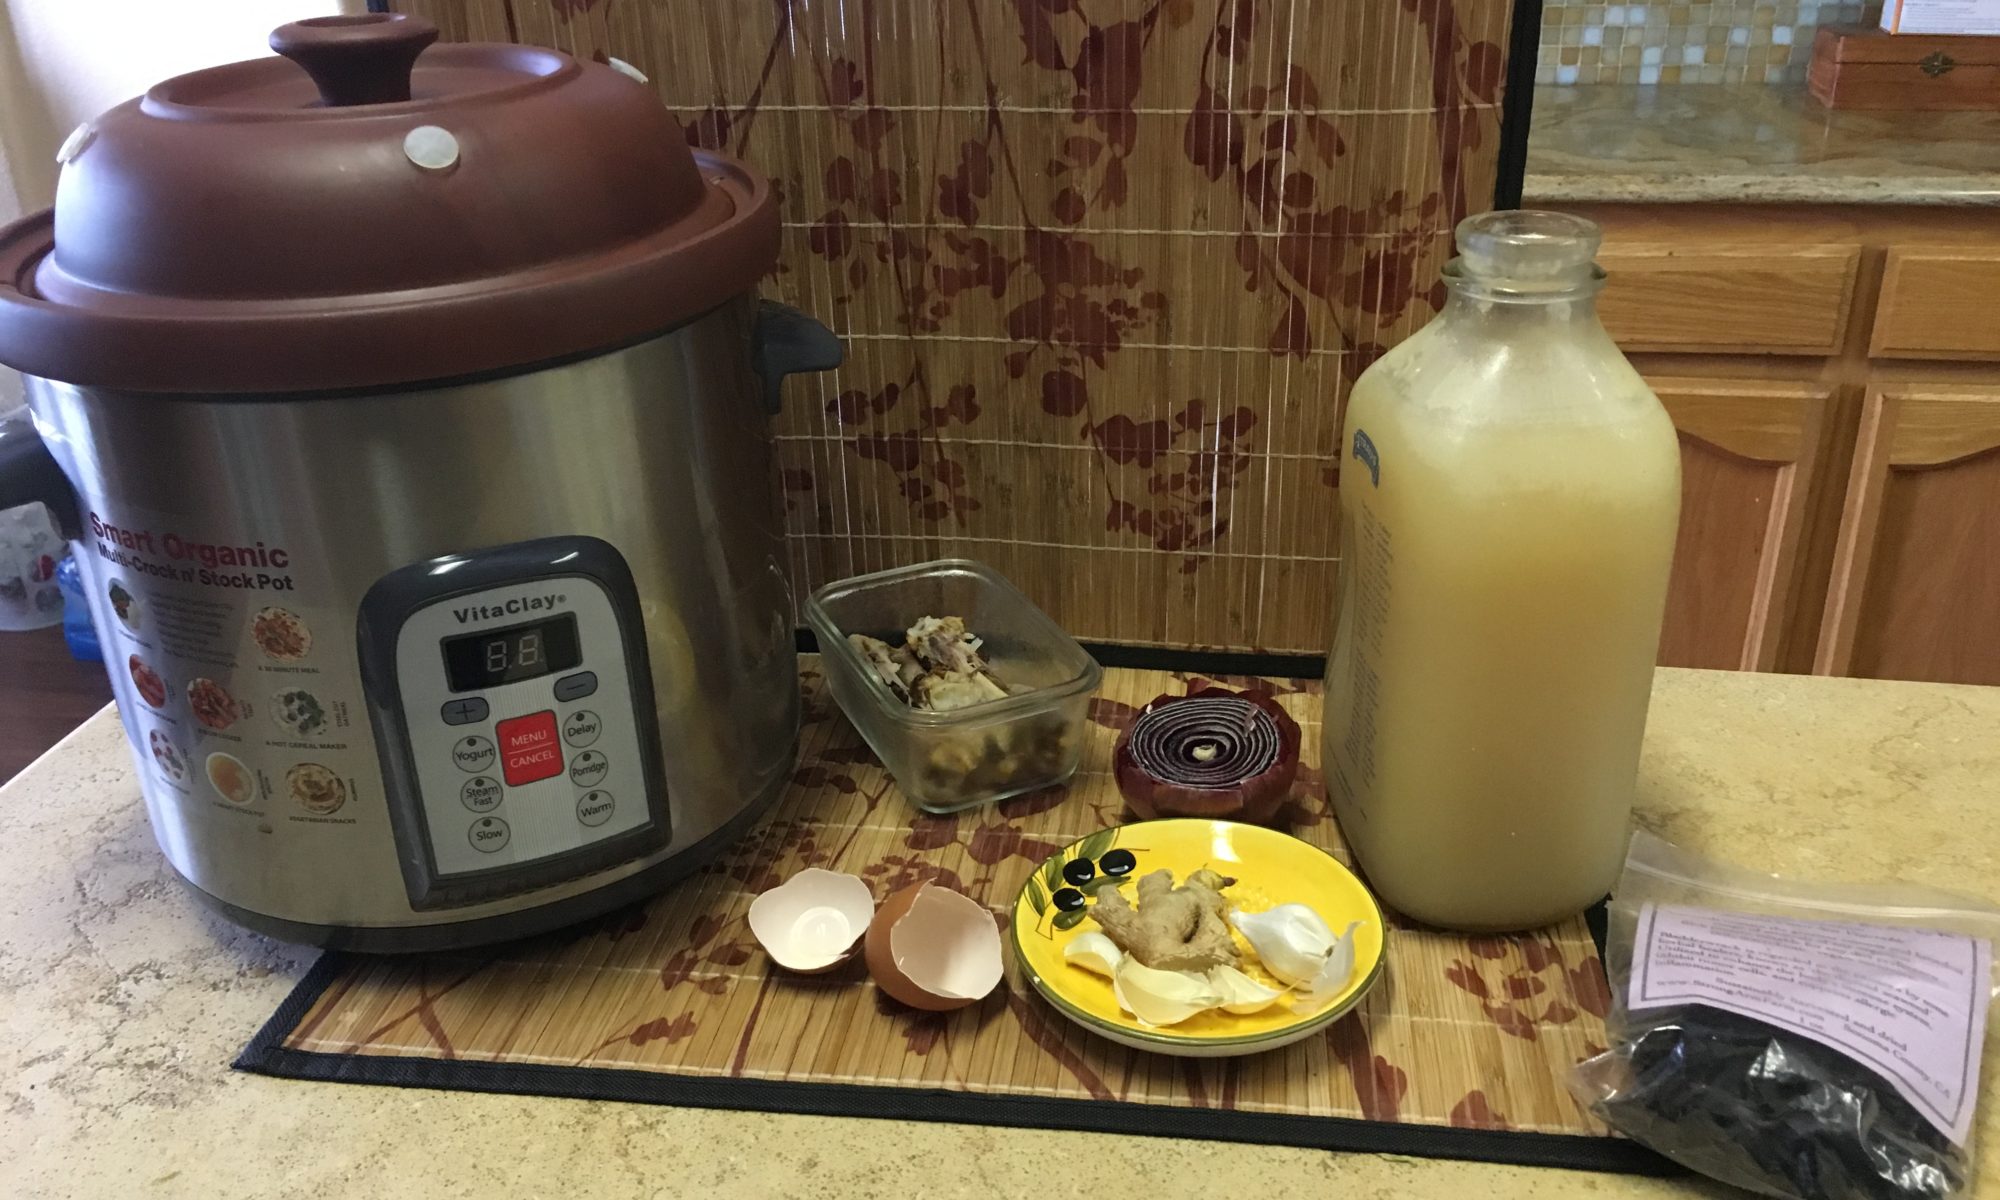
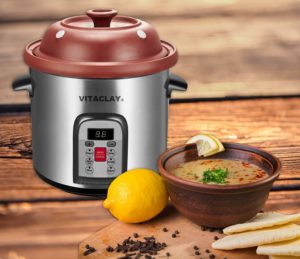
 A traditional food of the highest degree, every society has relied on broth in some form for thousands of years, and for good reason.
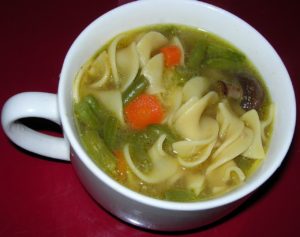

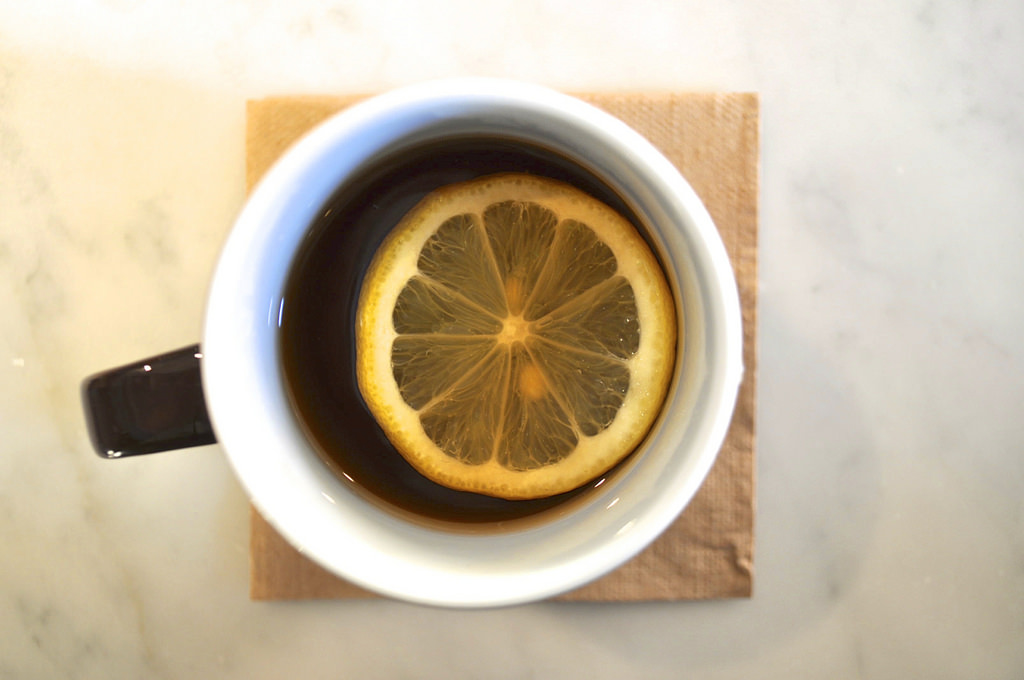


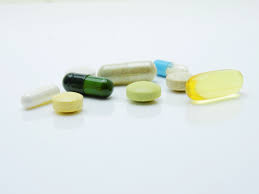 If you’re anything like me, you don’t love taking medicine. Not only are most over-the-counter and prescription meds made of yucky chemicals that aren’t good for you and stay in your tissues for years, they contain other baddies such as brain-toxic artificial colors and preservatives that we try to avoid in our food.