What is a Side Hustle? (And Why Everybody Needs One)

Have you ever looked at your paycheck and been frustrated with how much of it is taken out for taxes?

Have you ever thought what you could do with all of that extra money if you could actually keep more of what you are earning?

Have you ever wondered why you still have to pay more taxes in April, or why you’re not getting nearly enough money back on your tax returns?

You should get a side hustle.

A side hustle is any work you do “on the side.” Some examples are: cutting hair, mowing lawns, tutoring, or selling products. Side hustles are done on your own time for extra money.

You may already be involved in a side hustle and not even realize it.

But there’s more benefit to a side hustle than just earning a little extra cash.

Money you spend to fund your side hustle is tax deductible–AND some of your current expenses could also be tax deductible!

Did you know that you can also deduct expenses that you may not have thought of?

Some examples:

  • A portion of your rent or mortgage if you do any business or preparation for business at home
  • Mileage on your car if you ever use it to drive to and from places you do business or try to get new customers
  • Utilities
  • Internet bill
  • Cell phone bill

These kinds of expenses really add up. If you are paying these expenses anyway, and you can use a portion of them to deduct money from your taxable income, your tax bill not only shrinks, but you may bump yourself into a lower tax bracket.

We’re talking potentially thousands of dollars in tax refund money.

You might say:

“I don’t have time to do anything else.”

When you think about the tax savings, you can really see the potential: what if you were doing something that only took a few hours a week but saved you thousands of dollars on your taxes, PLUS the money you make doing what you’re doing?

Do you have time NOT to get a side hustle?

You might say:

“I don’t have money to invest in a new business.”

What if you could invest a couple hundred dollars and save a few thousand dollars on taxes, and make money on top of that? Do you have the money NOT to invest in that kind of side hustle? That’s a pretty great guaranteed return, no matter what business you are in.

Got Questions? Text “side hustle” to ‪(802) 227-7051‬

Here is a simplified example of the kind of tax savings possible with a side hustle:

Say you make $65,000 per year. According to your tax bracket, you’d pay 25%, or $16,250 in taxes over the course of one year.

If you had a side hustle, let’s say you could write off $15,000 in expenses per year (car mileage, part of your rent or mortgage, a portion of your cell phone bill, purchases and supplies for your business, start-up costs. If you take a trip for your business, the tax-write off numbers could easily be higher).

It is acceptable to take a “loss” in a new business for up to the first 3 years of the business. If you don’t make any money on your business the first year, here is your new taxable income:

$65,000 – 15,000 =  $50,000 taxable income. 

Now you’ve bumped yourself into a lower tax bracket, which only taxes 12% of your income. Now you’re paying only 12% taxes on a total income of $50,000

$50,000 x 0.12 = $6000 taxes.

Originally you would have paid $16,250 and now you’re paying $6000. 

You just made $10,250!

And that’s without doing anything other than starting the business– and not including any money you make for your business.

These are all estimates and would vary based on your specific circumstances, but you can see how this works. 

How would an extra $10,250 per year change your life? 

Maybe you could pay off that credit card bill. 

Make several mortgage payments. 

Take a family vacation… or four. 

Get your Side Hustle On!

 If you don’t already have a side hustle, you should definitely get one. But what kind?

There are lots of things you can do, from tutoring to babysitting to mystery shopping. The way to really make money, however, is to sell things. And you need to find something to sell that people really want. If you sell something you love, you can even deduct some of the products you use on your taxes as well! After all, if you are selling something to people, you need to try it out so you can tell them how great it is!

The great thing about a side hustle is that it’s flexible, and it’s based on effort (not hours).

Got Questions? Text “side hustle” to ‪(802) 227-7051‬

If you don’t have a lot of time and you don’t need to make a lot of money: perfect! Do a little here or there and make some extra cash while saving tons of money on your taxes.

If you dream of quitting your job and finally being financially free: PERFECT. You can totally do that.

A Slave to the J.O.B.

I love to talk about ways to save money, and even make a little money or bonuses doing things you already do–like shopping online.

Today I want to talk about something more powerful, though: residual income.

You know how….

you go to work and you get paid for the time you spend doing things they tell you to do?

 you can have a great job with lots of money and amazing benefits, but if you don’t show up to work, you don’t get paid (or lose your job)?

 your boss (or your company) can make you do things you don’t want to do because they have the power to take away your livelihood?

 rumors in the company about layoffs keep you up at night, worried what you would do if you lost your job?

The big corporations we work for have us at the end of a rope, and there isn’t much we can do about it. We need the money they are paying so we will do whatever it takes to earn it.

  • Hour-long commute in rush hour traffic.
  • Long days in a boring office sitting at a computer.
  • Eye, back, neck strain from sitting at a desk all day.
  • Doing the same thing every day.
  • Longing for that next vacation.

What choice do we have? We have to earn a living. We have bills to pay, kids to feed, Christmas presents to buy!

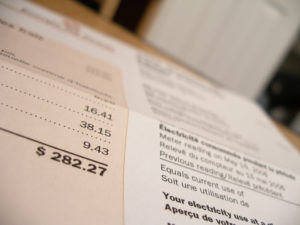
Where does all the money go?

Enter: Side Hustle

What if you could reduce your tax burden while increasing your income?

Most of us have jobs. A side hustle is an income “on the side.” Working for yourself! There are so many advantages to working for yourself: flexible schedule, tax deductions and extra income!

You can make your own hours–you can work as much as you want to, and you don’t have to quit your current job (unless you want to…).

There are so many benefits to getting a side hustle, you may be wondering why you don’t have one yet.

Here are a few questions to ask yourself when deciding on a side hustle:

  • If you could do something you love and get paid for it, what would that be?
  • How much money would you want to make to reach your goals?
  • What is your biggest motivation for finding a side hustle?
  • How could your family’s life change if you made an extra $1000 a month? An extra $5,000? $10,000?
  • What personal goals could be pursued or attained if you had financial freedom?

 The answers to these questions may bring you closer to the side hustle that’s perfect for you.

Of course, I have a couple of favorites, for very good reasons. I’d love to discuss with you why I chose them and why they are working for me!

Learn a little bit more about the ones I’m involved with here:

How Gut Health is Connected to Mental Health: the Mental Wellness Revolution

The Next Big Business Boom: The Microbiome

Salon-Quality, Anti-Aging (hair growing) “Magic” Shampoo! 

BUT WAIT, THERE’S MORE! 

 What do you think? What kind of side hustle would suit you best?

Questions? Text “side hustle” to ‪(802) 227-7051‬

Text “side hustle” to ‪(802) 227-7051‬ to learn more about the side hustles I’m involved in and the side hustle that is perfect for you.

New to Freedom & Coffee? Start here.


Disclosures:

Many of the product links in this post are affiliate links, which means I will receive a small commission from any purchase. I only recommend products that I love and this is at no extra cost to you. Thank you for supporting our mission with your clicks!

I am not an accountant, so please talk with your accountant or tax preparer for more details on the tax deductions for which you qualify. 

Don’t Get Sick! Ward off Cold & Flu Season With Bone Broth (Recipe!)

Cold and flu season is upon us.

With chilly temperatures, heavy snow in some parts of the U.S. and cold rain in other parts, our immune systems are taking hits from all sides.

We’re  all looking for ways to prevent sickness this time of year.

When I was in college I would take an over-the-counter decongestant to delay sickness (it worked for a while, but then when it hit, it would hit hard). Now I look for more natural ways to boost my immune system throughout the year so I’ll be less likely to get sick in the winter time.

Even though I do get sick less, it’s hard to prevent it altogether. But there are a few tricks I’ve learned along the way that seem to really work, and I haven’t had much more than a sniffle for about 3 years.

The front line of defense during the winter is bone broth.

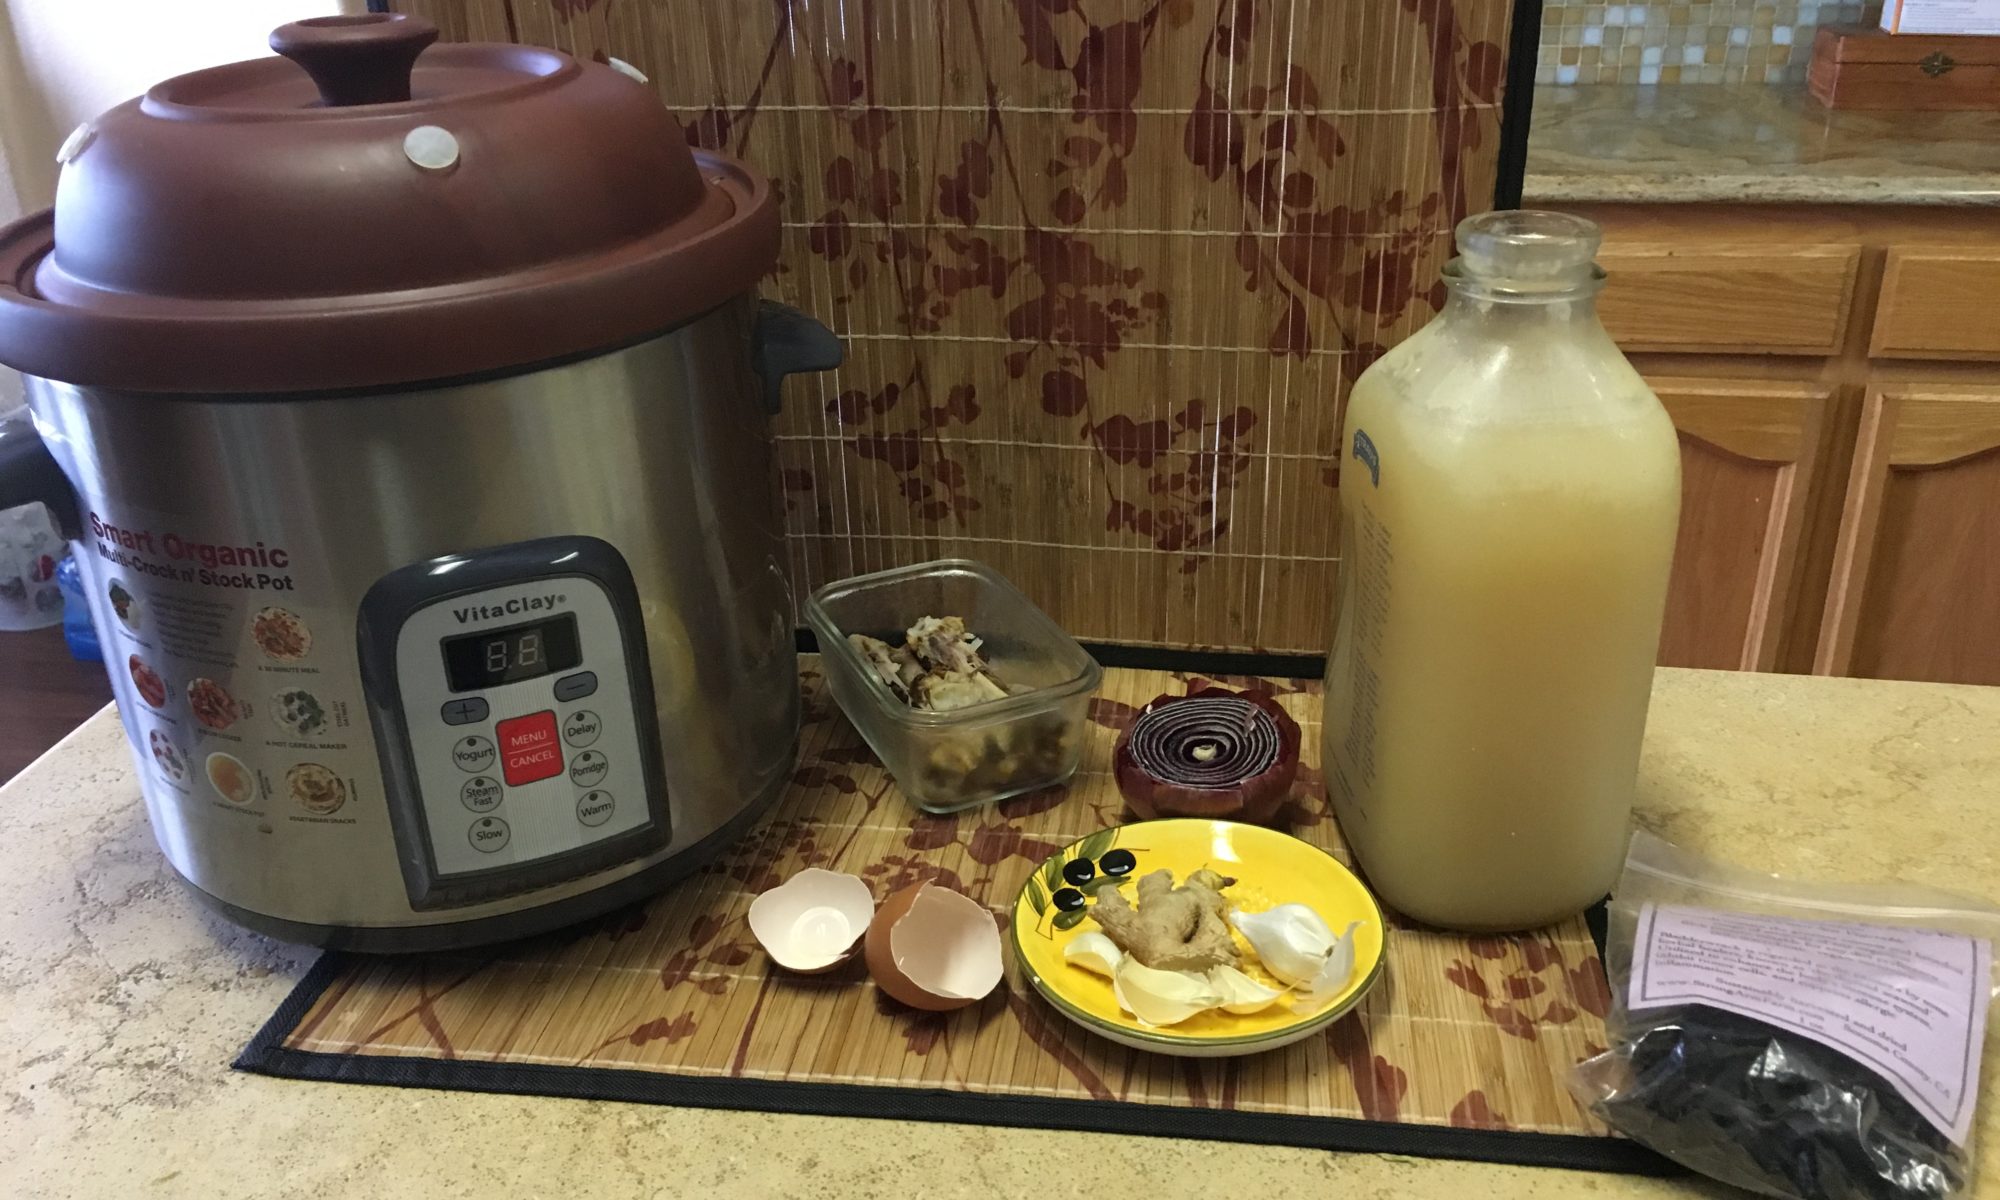
A traditional food of the highest degree, every society has relied on broth in some form for thousands of years, and for good reason.

Broth provides our bodies access to a rich source of nutrients that bolster our immune systems and nourish us at a deep level. When you make  bone broth, you use the whole animal (and veggie scraps), allowing you to reduce our waste while boosting nutrient intake.

Broth is versatile: use it as a base for soups, stews and grains.

This is an easy way to make every meal more nutrient dense. Drink as much broth as possible during the winter. I have a batch of broth going almost constantly in the winter, and I drink several cups per day, either plain with a little salt, or incorporated into other dishes.

Throughout the rest of the year I make bone broth–about a batch per week and still use it in all of my dishes.

It’s a great way to stay warm, hydrated and nourished during the cold winter months! VitaClay is an ideal tool for safely making nourishing bone  and vegetable broth—you can let it cook all night and all day and go about business as usual.

We have all heard chicken noodle soup is the best way to heal yourself of a cold or other illness. But why is this age-old recipe so effective? Is it the chicken? The veggies? The noodles?

The secret is really in the broth.

Traditionally every soup was  made with a base of broth, not water. These days we grab a bouillon cube to flavor soup and other dishes, but did you know that real, traditional bone broth is a very healing and nourishing food?

Make bone broth! It’s good for so much more than just flavoring–though it does that very well.

Make bone broth! Homemade bone broth will add a rich, velvety texture and a deep flavor to anything it touches. It’s also filled with nourishing minerals and proteins that build immunity at the cellular level.

For any soup, stew or chili recipe I use I make bone broth as the base, and I add it to a lot of other things as well. For example, I’ll add a spoonful to a stir fry that is getting dry, instead of adding water or more oil.

I also always use broth as a cooking liquid for rice, quinoa or any other savory grain: it boosts nutrition and adds a really great flavor. With broth and a little butter, rice becomes very filling–almost a whole meal by itself!

Whenever my husband eats rice from a restaurant, he comments that the rice I make tastes much better. 

How Can I Make Bone Broth?

The best part about bone broth is that it’s so easy to make, and practically free! The stores sell tetra packs of stock on the cheap, but if you want to get the deeply nourishing benefits of bone broth, the real thing is usually found in the freezer section of the health food store or you can order it in bulk online.

Bone broth is amazing because you can literally make bone broth from your “trash” –veggie scraps and bones (that’s better than free!). Save the bones and veggie scraps from meals during the week in a container in the fridge or freezer, and when you have a few handfuls, throw them in the slow cooker and get going!

Here is a quick, easy recipe for any type of bone broth:

Ingredients

  • Bones (soup bones or bones left over from this week’s dinners)*
  • Veggie scraps from the week’s meals (mushrooms, celery, carrots, etc)*
  • Eggshells, oyster shells, etc: these add calcium and minerals!
  • Seaweed strips (optional: these add lots of minerals and iodine)
  • Ginger and garlic–boosts the anti-oxidant and immune-building properties

*Scraps can also be frozen to use in a future batch of broth if it will be more than a few days until you can cook them. 

Directions

  1. Add bones, scraps and other ingredients to pot
  2. Fill the rest of the pot with purified water
  3. Cook on “soup” (for VitaClay) for 3-5 hours (up to 24 hours)
  4. Strain, bottle and freeze or refrigerate
  5. Use in everything!

I love to make bone broth in my VitaClay, because it is electronic and I can safely leave the broth cooking for hours and hours while I sleep at night or run errands during the day.

As a bonus, VitaClay does pretty much all of my cooking: it makes rice, quinoa, and other grains; it makes yogurt (!) and all manner of slow-cooking dishes, from roasts to stews, soups and beans and steamed veggies or fish. It’s truly a multi-cooker, and I don’t use anything else for any of these dishes.

If you want to make bone broth at home and hire your “personal chef” (VitaClay) to cook all of your meals for you, use coupon code NOURISH10 at check-out for 10% off any product on the website.

Also, if you have a dog chicken bones are great to feed them as bone meal after you make bone broth: you’ll know they’re ready when you can easily crush the bones with one hand.

These bones keep going, and going and going….!

Do you make bone broth? What is your favorite way to use bone broth?

How often do you make bone broth at home? 

New to Freedom & Coffee? Start here.

Disclosure: many of the product links in this post are affiliate links, which means I will receive a small commission from any purchase. I only recommend products that I love and this is at no extra cost to you. Thank you for supporting our mission with your clicks!


Medical Disclaimer:
Information found on the Freedom & Coffee website is created and published online for informational purposes only. This information is not intended to be a substitute for professional medical advice, and is not intended to diagnose, treat or cure any medical condition.
If you have questions about your health or a medical condition, please seek the guidance of your doctor or qualified health professional with. Please don’t disregard the advice of a medical professional, or delay in seeking it because of something you have read on this website.
If you have a medical emergency, contact a doctor or call the emergency services immediately. If you choose to rely on any information provided by this website, it is solely at your own risk.
Under no circumstances is Freedom & Coffee responsible for the claims of third party websites or educational providers linked to from this website.

No More B.O.! Going Natural With Your Deodorant (Recipe!)

Growing up, if anyone said to my dad, “I’m gonna go take a shower,” He’d say: “That smells like a good idea.”

Ahhh. Dad jokes for days.


Nobody wants to smell, and deodorant is big business. With breast cancer an ominous threat to women (and even men!) in the world today however, the chemicals in commercial deodorant and antiperspirant are getting more attention.

Is it a coincidence that the vast majority of breast cancer tumors are found in the upper-outer quadrant, closest to the armpit?

Armpits sweat a lot, and this makes them a toxin eliminator in the body. When we prevent our armpits from sweating we are preventing that toxin outflow as well. Those toxins get trapped, building up in that area. Since toxins are easily stored in fat, the fatty tissue around the breasts is the perfect breeding ground for mutated cells that can develop into cancerous tumors.

What we don’t want to do is add more toxins to the mix, by applying chemical-laden products on our skin. Did you know that the skin absorbs about 70% of what is put on it?

 I focus on what I can do to eliminate toxins in my own life, and this has included eliminating antiperspirant and switching to natural deodorants.


I decided to nix antiperspirant completely, because I don’t want to prevent the sweat from flowing–it’s getting rid of toxins, so why would I want to stop that?

Let that sweat flow!

My sister wears antiperspirant to work because she worries that she’ll have sweat rings on her shirts all the time. This may happen at first, as your body adjusts to the absence of the antiperspirant, but after a week or two your body will adjust and for most people this will not be an issue unless you are doing strenuous activity.

When I was in college I was alerted to the toxic ingredients in commercial deodorants, and I switched to a deodorant salt crystal, like this one:

I loved it. It was cheap, easy to use and travel with, and worked like a charm. Just wet it and wipe on your armpits. Plus it lasts forever. I probably still have the first one I started using in college; you literally might only ever have to buy one.

I’ve talked to people who say that the salt crystals don’t work for them, though.

Luckily, there are other options that work great as well.

I actually have been making my own for the past few years, because I like having a pasty texture (similar to conventional deodorant) and I can add whatever scents I like with essential oils.

Here’s my basic recipe:

Ingredients for Safe, Cheap, Effective Homemade Deodorant

Directions to make your Safe, Cheap, Effective Homemade Deodorant

  1. Add all of the ingredients into the jar and stir
  2. Allow to cool to room temperature, and use by applying with your finger
  3. That’s it! How easy can it be?

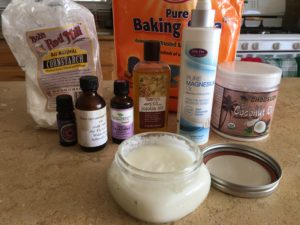
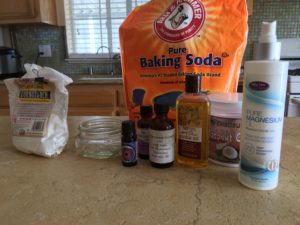
*The magnesium oil, jojoba oil and essential oils are not completely necessary: the essential oils are for scent, and the jojoba/Vitamin E are soothing. I like to add the magnesium oil because it’s a great way to absorb more magnesium and it gives the deodorant a fluffier texture that I really like.

 The active ingredient here is the baking soda: that’s what really neutralizes the odors. Some people are sensitive to baking soda. If that’s you, try using a lower quantity of baking soda relative to the other ingredients. Some people have recipes for “sensitive” deodorants that eliminate it, but for me those don’t work.

Even though it’s easy, inexpensive and totally customizable, I have friends who don’t want to make it. If that’s you, there are lots of natural options that use similarly safe ingredients, like these:


 Some people also recommend an armpit detox, like the one mentioned here

The main reason to do something like this might be to make the transition between commercial and natural deodorants easier, and possibly pulling toxins to the surface to be eliminated. If you want to do an armpit detox, it’s easy enough to do in 10-20 minutes after taking a shower, and there’s no harm in it.

I have taken a regular clay mask that I have for my face and spread it on my armpits, waited for it to dry, and rinsed it off. Another great way to detox your whole body, including your armpits, is to take an Epsom salt bath  a couple times per week.

Since you are already detoxing every time you sweat, I don’t think an armpit detox mask is super necessary. As long as you stop using the harmful, chemical-laden stuff and switch to something more natural, and allow yourself to sweat, you’ll be on the right track.


Resources:

What Is Armpit Detox? (And Why You May Need It)

https://www.cancer.gov/about-cancer/causes-prevention/risk/myths/antiperspirants-fact-sheet

New to Freedom & Coffee? Start here.

Disclosure: many of the product links in this post are affiliate links, which means I will receive a small commission from any purchase. I only recommend products that I love and this is at no extra cost to you. Thank you for supporting our mission with your clicks!