I love to make yogurt–I’m able to control the ingredients that do (and don’t) go in it, sweeten it to my liking and make it in clay–which makes the best yogurt ever!
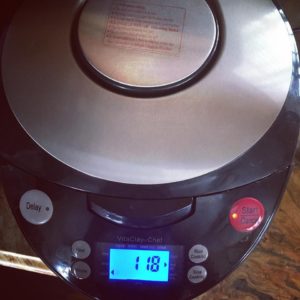
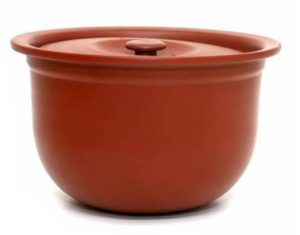
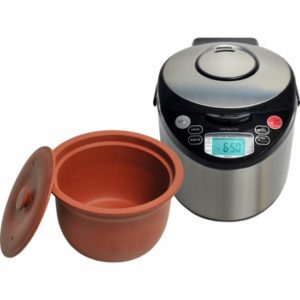
I use my VitaClay to make my yogurt: I love how simple it is, and it comes out great every time.
Making yogurt is an art and a science, however, especially when using different types of milk and cultures.
So when given the challenge to create a coconut milk yogurt recipe, I was excited: I knew with VitaClay it would be easier than ever, but I hadn’t tried to make anything other than cow’s milk yogurt, and didn’t know how it would come out.
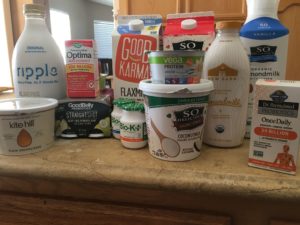
I went to the store and bought a lot of different things to try it out
Then I realized I had forgotten to get canned coconut milk, so I went back the following day and picked up a few cans of that and coconut cream so I could play with the creaminess.
And the testing began!
First I tried some of the bottled coconut milks that you see above… they had a little bit of sugar so I thought that would help with the fermentation.
They tasted great both before and after the fermentation, but they didn’t thicken up at all.
I tried it a few times with different drinkable coconut milks and ratios of probiotics, but didn’t get much better results.
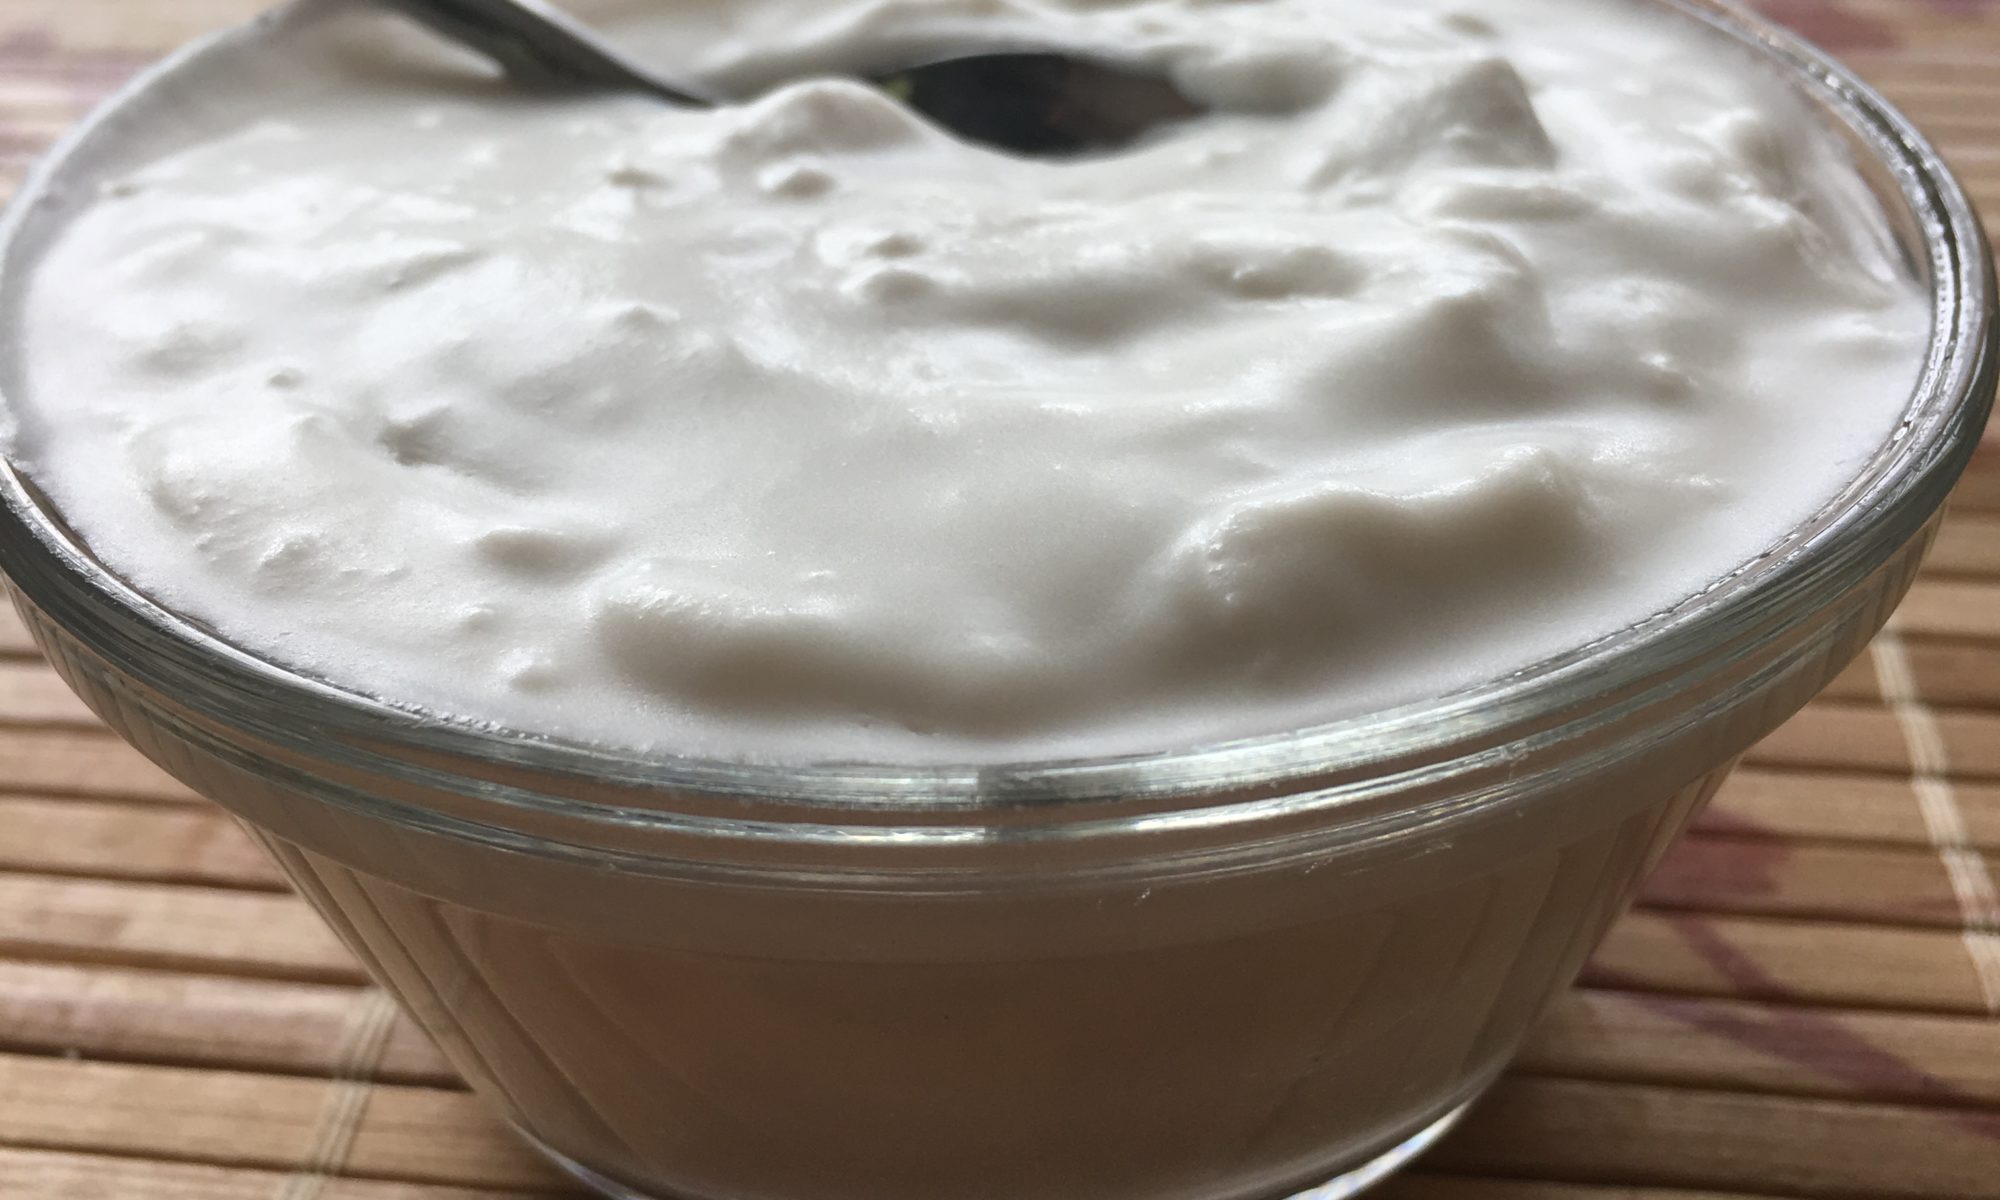
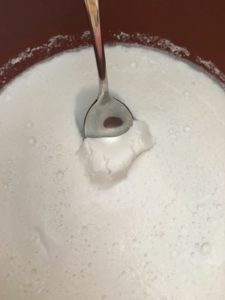
Finally I used canned coconut cream, blended it until smooth beforehand, and used 4 probiotics capsules instead of one. The results came out great, and it was even easier than I imagined!
Stir in contents of probiotics capsules and sugar (if adding)
Close, seal and press slow cooking button to select “yogurt”
(Default time is 8 hours)
After 8 hours elapses, allow to rest another 12-15 hours
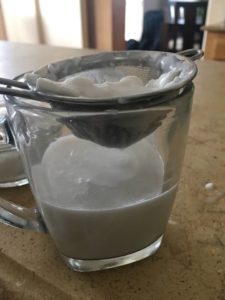
Strain, Serve and enjoy!
Refrigerate the leftovers
When you strain it out, use the probiotic-rich resulting “coconut whey” in smoothies or just drink it for a refreshing, nutrient-rich beverage.
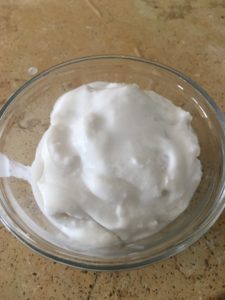
It tastes great too! Very creamy and rich–perfect with a drizzle of honey or some fruit.
Let me know what you think!
What do you love to eat in your yogurt, or how do you use coconut yogurt in cooking?
If you want to save money and avoid yucky ingredients by making coconut yogurt yourself but don’t have a yogurt maker, consider VitaClay! there are several models and sizes, and all of them make great yogurt, no matter what type.
And if you order now you can get 10% off your order on the VitaClay site! Just use coupon code NOURISH10.
If you have any questions on the yogurt making process or my experience with VitaClay, feel free to reach out to me via email or on messenger. Bon Apetit!
Many of the product links in this post are affiliate links, which means I will receive a small commission from any purchase. I only recommend products that I love and this is at no extra cost to you. Thank you for supporting our mission with your clicks!
With chilly temperatures, heavy snow in some parts of the U.S. and cold rain in other parts, our immune systems are taking hits from all sides.
We’re all looking for ways to prevent sickness this time of year.
When I was in college I would take an over-the-counter decongestant to delay sickness (it worked for a while, but then when it hit, it would hit hard). Now I look for more natural ways to boost my immune system throughout the year so I’ll be less likely to get sick in the winter time.
Even though I do get sick less, it’s hard to prevent it altogether. But there are a few tricks I’ve learned along the way that seem to really work, and I haven’t had much more than a sniffle for about 3 years.
The front line of defense during the winter is bone broth.
A traditional food of the highest degree, every society has relied on broth in some form for thousands of years, and for good reason.
Broth provides our bodies access to a rich source of nutrients that bolster our immune systems and nourish us at a deep level. When you make bone broth, you use the whole animal (and veggie scraps), allowing you to reduce our waste while boosting nutrient intake.
Broth is versatile: use it as a base for soups, stews and grains.
This is an easy way to make every meal more nutrient dense. Drink as much broth as possible during the winter. I have a batch of broth going almost constantly in the winter, and I drink several cups per day, either plain with a little salt, or incorporated into other dishes.
Throughout the rest of the year I make bone broth–about a batch per week and still use it in all of my dishes.
It’s a great way to stay warm, hydrated and nourished during the cold winter months! VitaClay is an ideal tool for safely making nourishing bone and vegetable broth—you can let it cook all night and all day and go about business as usual.
We have all heard chicken noodle soup is the best way to heal yourself of a cold or other illness. But why is this age-old recipe so effective? Is it the chicken? The veggies? The noodles?
The secret is really in the broth.
Traditionally every soup was made with a base of broth, not water. These days we grab a bouillon cube to flavor soup and other dishes, but did you know that real, traditional bone broth is a very healing and nourishing food?
Make bone broth! It’s good for so much more than just flavoring–though it does that very well.
Make bone broth! Homemade bone broth will add a rich, velvety texture and a deep flavor to anything it touches. It’s also filled with nourishing minerals and proteins that build immunity at the cellular level.
For any soup, stew or chili recipe I use I make bone broth as the base, and I add it to a lot of other things as well. For example, I’ll add a spoonful to a stir fry that is getting dry, instead of adding water or more oil.
I also always use broth as a cooking liquid for rice, quinoa or any other savory grain: it boosts nutrition and adds a really great flavor. With broth and a little butter, rice becomes very filling–almost a whole meal by itself!
Whenever my husband eats rice from a restaurant, he comments that the rice I make tastes much better.
How Can I Make Bone Broth?
The best part about bone broth is that it’s so easy to make, and practically free! The stores sell tetra packs of stock on the cheap, but if you want to get the deeply nourishing benefits of bone broth, the real thing is usually found in the freezer section of the health food store or you can order it in bulk online.
Bone broth is amazing because you can literally make bone broth from your “trash” –veggie scraps and bones (that’s better than free!). Save the bones and veggie scraps from meals during the week in a container in the fridge or freezer, and when you have a few handfuls, throw them in the slow cooker and get going!
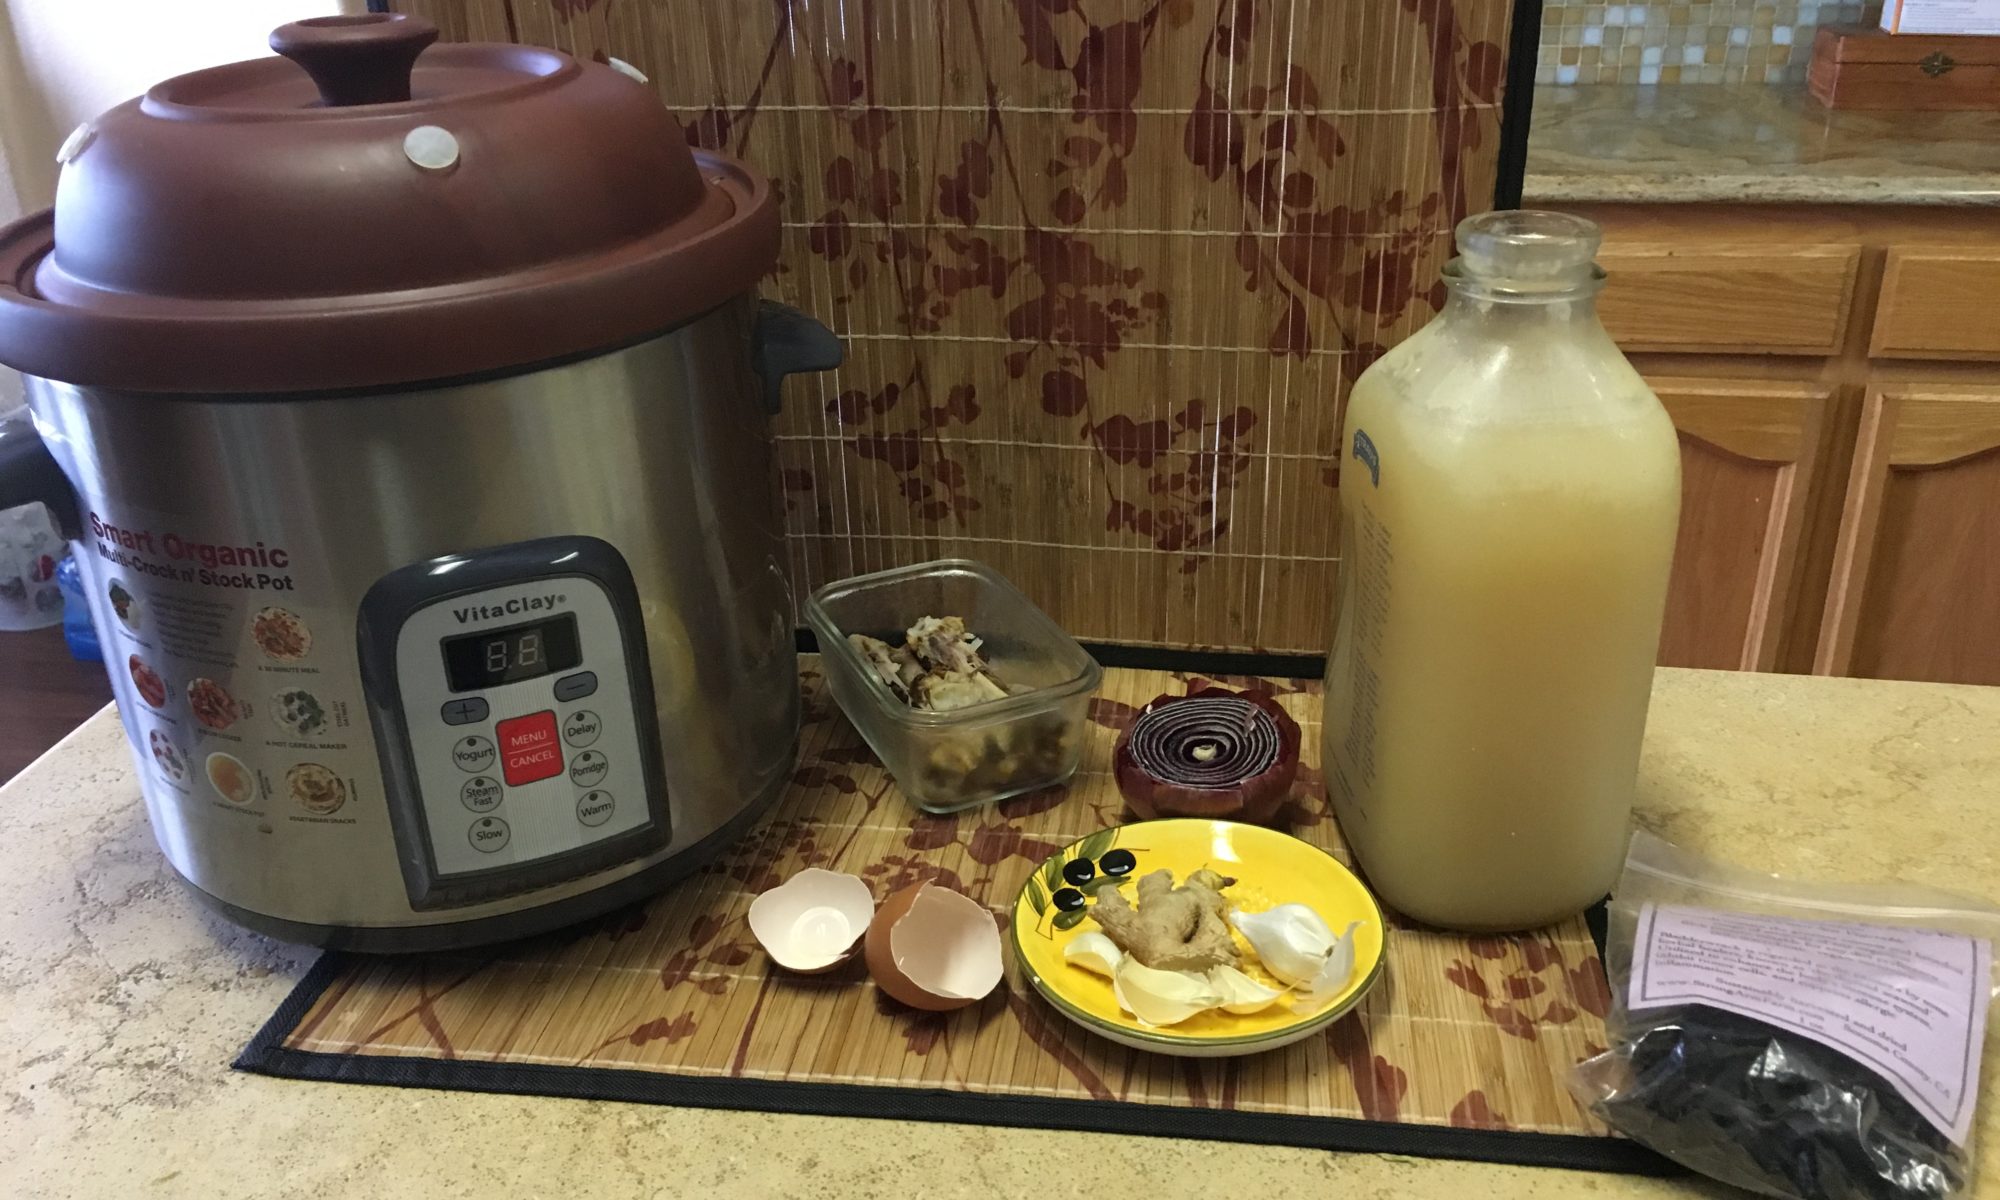
Here is a quick, easy recipe for any type of bone broth:
Ingredients
Bones (soup bones or bones left over from this week’s dinners)*
Veggie scraps from the week’s meals (mushrooms, celery, carrots, etc)*
Eggshells, oyster shells, etc: these add calcium and minerals!
Seaweed strips (optional: these add lots of minerals and iodine)
Ginger and garlic–boosts the anti-oxidant and immune-building properties
*Scraps can also be frozen to use in a future batch of broth if it will be more than a few days until you can cook them.
Directions
Add bones, scraps and other ingredients to pot
Fill the rest of the pot with purified water
Cook on “soup” (for VitaClay) for 3-5 hours (up to 24 hours)
Strain, bottle and freeze or refrigerate
Use in everything!
I love to make bone broth in my VitaClay, because it is electronic and I can safely leave the broth cooking for hours and hours while I sleep at night or run errands during the day.
As a bonus, VitaClay does pretty much all of my cooking: it makes rice, quinoa, and other grains; it makes yogurt (!) and all manner of slow-cooking dishes, from roasts to stews, soups and beans and steamed veggies or fish. It’s truly a multi-cooker, and I don’t use anything else for any of these dishes.
If you want to make bone broth at home and hire your “personal chef” (VitaClay) to cook all of your meals for you, use coupon code NOURISH10at check-out for 10% off any product on the website.
Also, if you have a dog chicken bones are great to feed them as bone meal after you make bone broth: you’ll know they’re ready when you can easily crush the bones with one hand.
These bones keep going, and going and going….!
Do you make bone broth? What is your favorite way to use bone broth?
Disclosure: many of the product links in this post are affiliate links, which means I will receive a small commission from any purchase. I only recommend products that I love and this is at no extra cost to you. Thank you for supporting our mission with your clicks!
Medical Disclaimer: Information found on the Freedom & Coffee website is created and published online for informational purposes only. This information is not intended to be a substitute for professional medical advice, and is not intended to diagnose, treat or cure any medical condition. If you have questions about your health or a medical condition, please seek the guidance of your doctor or qualified health professional with. Please don’t disregard the advice of a medical professional, or delay in seeking it because of something you have read on this website. If you have a medical emergency, contact a doctor or call the emergency services immediately. If you choose to rely on any information provided by this website, it is solely at your own risk. Under no circumstances is Freedom & Coffee responsible for the claims of third party websites or educational providers linked to from this website.
My step-daughter Lexi recently had an issue with her foot: it was swollen, painful and difficult for her to walk. Being in college, that is a big problem. She was forced to use crutches for several weeks, she was in constant pain, and she was at the mercy of whatever her doctors told her.
My husband and step-daughter on a daddy-daughter date in San Francisco.
It was clear her doctors didn’t know what was causing it: she was getting contradictory opinions and diagnoses, and all they could really do was prescribe pain meds.
My husband works out several times a week at the gym, as well as playing softball games twice a week, visiting the batting cages, playing flag football, and coaching sports teams. Needless to say, he often has sore, tight, or stiff muscles.
I’m usually cold. I have to carry a jacket everywhere, and when it starts to get cold in the fall I end up catching a chill and eventually getting a head cold or sinus infection as a result.
What if I told you there is a cheap, easy, and delicious way to relieve all three of the above issues, and many more?
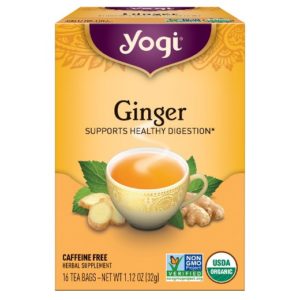
GINGER
Ginger is a rock star in the world of natural healing and “food as medicine.”
Ginger is an anti-inflammatory: inflammation causes most of the pain and disease we experience
Ginger boosts the immune system: fend off that cold & flu virus going around
Ginger warms up the body: ward off chills and stay toasty in the winter!
Ginger breaks down toxic build-up in the body
Ginger improves cardiovascular health
Ginger relieves nausea and improves digestion: even nausea from motion sickness!
Ginger lowers cholesterol
Ginger works with fiber from your diet to cleanse your digestive tract
Ginger balances blood sugar
Ginger is a pain reliever: studies have found it even more effective than over-the-counter pain meds when taken every day!
Ginger can reduce the risk of cancer
Ginger is anti-bacterial and anti-fungal: it helps your body fight infections
Ginger can ease nasal discomfort: and serve as an alternative to decongestants and allergy meds
Ginger may rev up body fat loss: it ramps up your metabolism by raising your body temperature, encouraging your body to burn fat
Ginger does so many things!
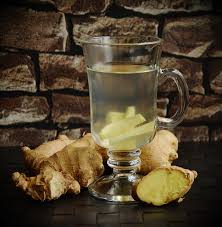
So how can you get it in you? You can cook with it–I love the subtly sweet-hot flavor it adds to dishes. There are ginger candies you can eat as well–they’re a little spicy but pretty good! Or you can drink it as a tea!
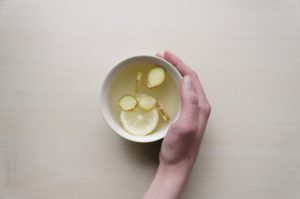
Ginger tea is not actually tea, it’s an infusion of ginger in water. Here’s how to make it:
Ingredients for Ginger Tea
Fresh ginger root
4-5 cups Pure filtered water
Directions for Ginger Tea
Cut the fresh ginger into slices, using about one inch total
Add the ginger and water to a saucepan and boil for 10-15 minutes
Strain out the ginger and use the “ginger tea” that results
Ginger tea can be enjoyed hot or cold: you can even make a big batch in the summer and refrigerate it for a refreshing beverage with health benefits, or use it to make ginger lemonade!
It’s great sweetened with honey and with lemon, or you can use the “ginger water” in other things: like if you make herbal tea (I love this one) at night, use the ginger water instead of regular water to add ginger’s health benefits without the flavor–you’ll just taste the tea!
You can also use ginger water as the base for soups, stews, or other beverages. It can be used in place of water in a lot of recipes, and be swapped out for water when making rice, quinoa, or oatmeal. You can even use it when you make hot cocoa!
Some people (and kids) don’t love the strong taste of ginger. My friend Jennifer over at Home on the Meyerstead came up with this really great honey-based throat elixir that is great for kids–it’s sweet and sour with a great flavor, but also has the benefits of ginger, along with lemon and honey! It’s delicious–so much better than cough medicine but works just as well–and it’s a great tasting and nutritious ready-made add-in for tea!
When I feel a chill or get a tickle in the back of my throat, I make this delicious hot toddy and it warms me right up:
Ingredients for Healing Hot Toddy
2-3 cups hot ginger water
2 T lemon juice (if using a fresh lemon, throw in the whole lemon slice to get some of the benefits of the rind and zest)
1-2 T raw organic honey (depending on how sweet you like it)
A splash of whiskey (about 1 oz)
1-2 oz Elderberry tincture or a spoonful of Elderberry syrup
2 T Raw Apple Cider Vinegar
A sprinkle of cinnamon
A sprinkle of real salt (for electrolytes and flavor)
Directions for Healing Hot Toddy
Add all ingredients to hot ginger water
Stir and add to two mugs
I love this hot toddy because it warms my whole body up right away–
perfect if I’ve caught a chill.
It also tastes great! it’s like hot apple cider, thanks to the apple cider vinegar.
It’s the perfect immune-boosting nightcap!
It’s even better to pair up this hot drink with a detox bath at night before you go to bed or when you feel sick.
My step-daugter Lexi said the ginger tea helped relieve pain in her foot as it was healing, too!
Ginger is an age-old remedy that really works as a warming, soothing, anti-inflammatory food, and it’s very inexpensive and easy to use! Grab some ginger next time you’re at the store and get to healing!
Read more about how to boost immunity and stay well during the winter:
Disclosure: Many of the product links in this post are affiliate links, which means I will receive a small commission from any purchase. I only recommend products that I love and this is at no extra cost to you. Thank you for supporting our mission with your clicks!
Medical Disclaimer: Information found on the Freedom & Coffee website is created and published online for informational purposes only. This information is not intended to be a substitute for professional medical advice, and is not intended to diagnose, treat or cure any medical condition. If you have questions about your health or a medical condition, please seek the guidance of your doctor or qualified health professional with. Please don’t disregard the advice of a medical professional, or delay in seeking it because of something you have read on this website. If you have a medical emergency, contact a doctor or call the emergency services immediately. If you choose to rely on any information provided by this website, it is solely at your own risk. Under no circumstances is Freedom & Coffee responsible for the claims of third party websites or educational providers linked to from this website.
No matter how robust your immune system, how careful you are to avoid germs, how many flu shots you take… you will be exposed, and it’s only a matter of time before it brings you to your knees. A cold is an inconvenience at best and several weeks off of work or a visit to the hospital at worst.
So let’s do everything we can to avoid that, yeah? Especially if you are ever in contact with children: at a school, at home, in the store (via the dried snot left on your grocery cart as you arrive) the germs and viruses are everywhere, just waiting to attack.
If you’re anything like me, you don’t love taking medicine. Not only are most over-the-counter and prescription meds made of yucky chemicals that aren’t good for you and stay in your tissues for years, they contain other baddies such as brain-toxic artificial colors and preservatives that we try to avoid in our food.
Do we really want exposure to those things while we’re sick?
One remedy I found is elderberry syrup. Elderberry syrup is all natural: it’s made from berries! Its use goes back thousands of years and it’s very effective for both recovery and prevention of cold and flu viruses. It’s easy enough to find, but it’s more expensive than making it for yourself.
So I set out to make my own. And it was easy!
The best part is that it’s simple: you only need 3 ingredients, it’s super easy to make, it actually tastes really good, and it’s sweetened with raw honey (which is another cold remedy).
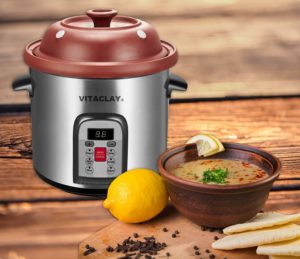
VitaClay is completely non-toxic, unlike other slow cookers, rice cookers and multi-cookers on the market!
I love making this stuff in my VitaClay multi-cooker, because I let it soak in hot water for several hours. I know VitaClay is safe and won’t leach any chemicals or heavy metals into my elderberry syrup (because there is nothing to leach!)
Also I like to be able to steep the berries on “warm” because it only gets up to about 160 degrees and doesn’t boil anything–which is ideal for this process.
And I don’t have to leave anything simmering on the stove–I can let it steep in VitaClay for a few hours while I’m sleeping or out of the house!
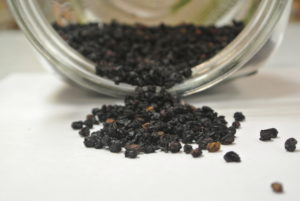
Dried Elderberries–about $20 per lb, but it will make gallons of syrup or tincture!
Ingredients for Elderberry Tincture:
1 cup dried elderberries (some people have elderberry trees… Lucky! Otherwise they’re on Amazon)
Put the water and the elderberries in the clay pot
Set to “warm” overnight
Strain off the berries and add in the honey, mixing it in while it’s still warm
Refrigerate for up to 3 weeks
Note: If you want it to last longer, you can add a little bit of vodka, which discourages mold growth (even store-bought cough syrup has some alcohol in it, so it’s still safe for the little ones). If you don’t want to use alcohol, you could also use Raw Apple Cider Vinegar, which also discourages mold growth and is great for digestion and has lots of other benefits. You can add other herbs like elderberry flowers or rose hips for added nutrients and different flavors. Let us know how you like it!
You can drink it straight or add it to other juice or carbonated water. It really tastes quite good! Even kids will like it!
It also goes great added to ginger tea or Hot Toddy to warm you up and keep you from getting sick!
Read more about how to boost immunity and stay well during the winter:
Disclosure: Many of the product links in this post are affiliate links, which means I will receive a small commission from any purchase. I only recommend products that I love and this is at no extra cost to you. Thank you for supporting our mission with your clicks!
Medical Disclaimer: Information found on the Freedom & Coffee website is created and published online for informational purposes only. This information is not intended to be a substitute for professional medical advice, and is not intended to diagnose, treat or cure any medical condition. If you have questions about your health or a medical condition, please seek the guidance of your doctor or qualified health professional with. Please don’t disregard the advice of a medical professional, or delay in seeking it because of something you have read on this website. If you have a medical emergency, contact a doctor or call the emergency services immediately. If you choose to rely on any information provided by this website, it is solely at your own risk. Under no circumstances is Freedom & Coffee responsible for the claims of third party websites or educational providers linked to from this website.
Most Saturday mornings my husband and I like to go to breakfast. It’s a lazy, indulgent thing we do that allows us to carve out time at least once a week–we connect and just relax a bit after the hectic week.
My second favorite thing to do is to make a big breakfast for the family and a few friends on Saturday morning. This usually only happens on holidays, but it’s such a warm, fun time I wonder why we don’t take time to do it more often.
The smell of coffee, bacon, pancakes, eggs, sausage….
Mmm… coffee.
Coffee Break! Okay, I’m back.
There’s something about breakfast sausage: a unique flavor, juicy and delicious–sometimes I like it even more than bacon!
Breakfast sausage is one of those things I almost never eat, however. Why? Though it’s everywhere: in the meat section, in the freezer section, on every breakfast diner menu… pork is a meat that can be contaminated with a lot of toxins. Because toxins build up in fatty tissue, and pork is full of fat, I tend to stay away from it.
Don’t get me wrong: I love fat. But only if it’s from a clean source. Strangely, as ubiquitous as pork is, it’s pretty difficult to find pork from a clean source. Even organic bacon is not easy to find, and the stores that do carry it are out of stock half the time.
I’ve been wanting to make breakfast sausage for a long time, but I had some difficulty sourcing organic ground pork. Finally I found some at my health food store, so I stocked up and went on the search for the best breakfast sausage recipe.
With a little tweak here and there (I can’t ever just leave a recipe alone) I think I’ve finally got the perfect breakfast sausage. I’d like to share it with you, just in time for Saturday morning brunch!
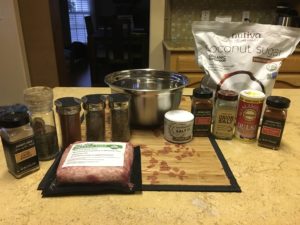
Ingredients for Saturday Morning Breakfast Sausage
Mix all ingredients (you might want to use your hands to get all the spices incorporated)
Pan fry patties ( I love using my cast iron skillet!) and serve along other breakfast food
Form patties on parchment and freeze, then bag if not using all of it
Cook it up in cast iron!
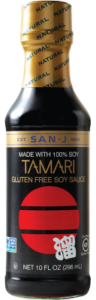
Most sausage recipes don’t call for soy sauce, but I love to add a splash (tamari and shoyu types are great because they are traditionally made, have excellent flavor, and they’re usually gluten free)–that umami flavor just adds an extra punch. It also adds a little bit of moisture to the meat.
These little sausage patties freeze well or will keep in the fridge up to a week.
I’d love to see pictures of your homemade sausage!
Disclosure: Many of the product links in this post are affiliate links, which means I will receive a small commission from any purchase. I only recommend products that I love and this is at no extra cost to you. Thank you for supporting our mission with your clicks!
For a beverage, coffee is very controversial in the health community.
A few years ago as we were carpooling to a retreat, a friend of mine said, “Guess what?! I quit coffee!”
Knowing that I am in the field of natural health, she thought this would impress me.
She explained that she’d been getting terrible, migraine-level headaches and she quit coffee to see if that could be the culprit. The headaches stopped, and she was proud of herself for finding the answer.
I dug a bit further.
What kind of coffee do you drink? Do you make it at home? What do you put in it?
She told me she makes it at home and uses regular coffee from the store. She loves to put a flavored non-dairy creamer in it every day, because it “tastes so good!”
Ah ha! Yes, there it is.
I told her I thought it was great that she’d cured her headaches, but from my research coffee isn’t a terrible thing: there have even been studies that show protective benefits against cancer and other diseases.
The problem is probably the coffee creamer–look at those ingredients! No milk whatsoever: a laundry list of unpronounceable additives, colors, thickeners and flavors. I’d be willing to bet that’s your issue right there.
Try drinking coffee with just milk or cream and see if you still get a headache.
My friend has happily been enjoying coffee ever since, headache-free.
So, is Coffee Bad or What?
Coffee: people either love it or hate it. Most of my friends who don’t drink coffee are rather proud of themselves that they don’t need “that crutch” every morning. The Weston A. Price Foundation, who I respect for nutritional information, doesn’t recommend coffee at all (don’t even try to talk about coffee on one of their many forums: you’ll get a stern talking-to).
Some people do have an issue with the caffeine. My cousin loves coffee, but always drinks decaf because she can’t handle the caffeine. Personally, I have always loved the taste of coffee but didn’t drink it regularly until after my son was born. After that I began to crave the taste of it.
Some nights I want to go to sleep early so I can wake up and drink coffee. I just love it: the taste, the warmth, the feeling.
Like other foods that people have been enjoying for thousands of years, coffee is a traditional food. As such, I have no problem with it. In recent years headlines have gone to both extremes:
coffee is an addictive toxin–stay away!
Coffee may prevent colon cancer!
Coffee will kill us all–it’s a drug!
It’s fun to watch the media go back and forth on these issues, but I prefer to do my own research and see how a food affects me personally before I make a decision to give up something I really enjoy.
About a year ago I started to get anxious for no reason. My chest felt tight and I just felt stressed out, even though nothing was really going on. My neck was starting to hurt and my heart would sometimes beat irregularly.
I thought it was the coffee. I’d have to give it up.
So I stopped drinking it for awhile, and I felt better. But what do I drink in the morning? I’d sometimes drink a matcha latte or a cup of broth, but it just wasn’t the same. So I went to decaf, finding an organic water-processed one that I liked.
Did you know coffee is decaffeinated using a chemical cocktail that leaves a residue on the coffee beans? That’s why I always look for water-processed when I buy decaf.
In the end, I found a chiropractor that took some X-rays and showed me that I could benefit from spinal adjustment, and those symptoms of anxiety, tightness and irregular heartbeats have subsided, even while drinking my regular coffee.
Yay! Coffee wins again!
Now I am free to enjoy my morning cup without fear or guilt.
And if you like coffee and don’t suffer any ill effects, I think you should, too.
There are a some things to keep in mind with coffee, however. Here are a few:
Conventional coffee is loaded with pesticides.
Buy organic so you don’t get a nice swig of toxins with your morning Joe. There are so many options these days–you can find organic coffee in virtually every coffee option there is: ground or whole bean, dark or light roast, flavored or unflavored, caf or decaf.
The de-caffeination process typically involves harsh chemicals and solvents. If you want to avoid those chemicals, look for “water-processed” decaf–many of the organic versions are already water processed.
Because coffee is such big business, most coffee is sold in “blends” and the coffee beans may have come from all over the world. So if any one of those batches of coffee was contaminated with a mold or other coffee crop blight, your whole coffee blend is affected. Getting single-origin coffee reduces the risk of that happening.
Buy whole beans and a grinder.
Freshly ground beans taste so much fresher than pre-ground; I can really taste the difference! Try it and I think you’ll agree it’s worth the extra few seconds to grind your beans every morning.
Grinders are inexpensive and easy to use. Lately I’ve been having fun grinding my own beans in this manual burr grinder.
Use real ingredients.
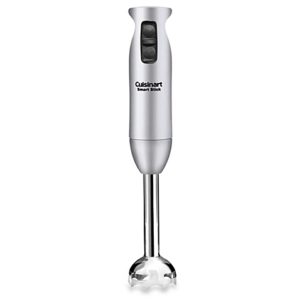
I love to add a lot of healthy things to my coffee: like whole raw milk, gelatin powder, coconut oil, butter, Ceylon cinnamon and Real Salt. Sometimes I even add a pastured raw egg. It’s a regular real-food smoothie by the time I’m finished–so much better than any coffee shop!
Especially if you’re adding a bunch of ingredients to nutrition-out your coffee like I do–you’ll be so glad you have this super handy tool. It’s also great for mixing up soups, pancake mix, and other recipes–and very easy to clean.
Don’t drink it black or on an empty stomach.
The absorption of caffeine in coffee can be slowed by eating something and by adding some fat to your coffee, in the form of milk, cream, coconut oil, butter, gelatin, etc. So mix it up!
Here’s how I make my bullet-proof(ish) coffee every morning:
Disclosure: many of the product links in this post are affiliate links, which means I will receive a small commission from any purchase. I only recommend products that I love and this is at no extra cost to you. Thank you for supporting our mission with your clicks!


 A traditional food of the highest degree, every society has relied on broth in some form for thousands of years, and for good reason.


 If you’re anything like me, you don’t love taking medicine. Not only are most over-the-counter and prescription meds made of yucky chemicals that aren’t good for you and stay in your tissues for years, they contain other baddies such as brain-toxic artificial colors and preservatives that we try to avoid in our food.
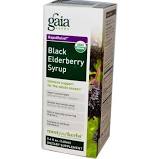


 She told me she makes it at home and uses regular coffee from the store. She loves to put a flavored non-dairy creamer in it every day, because it “tastes so good!”

 Buy whole beans and a grinder.